Tutorial
Getting started with API Sathi
From sign-up to your first live API call in about 10 minutes. One account and one API key give you every API in the catalogue — PAN, GST, Aadhaar (DigiLocker), DL, RC, credit reports and more — billed from a single prepaid wallet with GST invoices.
1Create your account
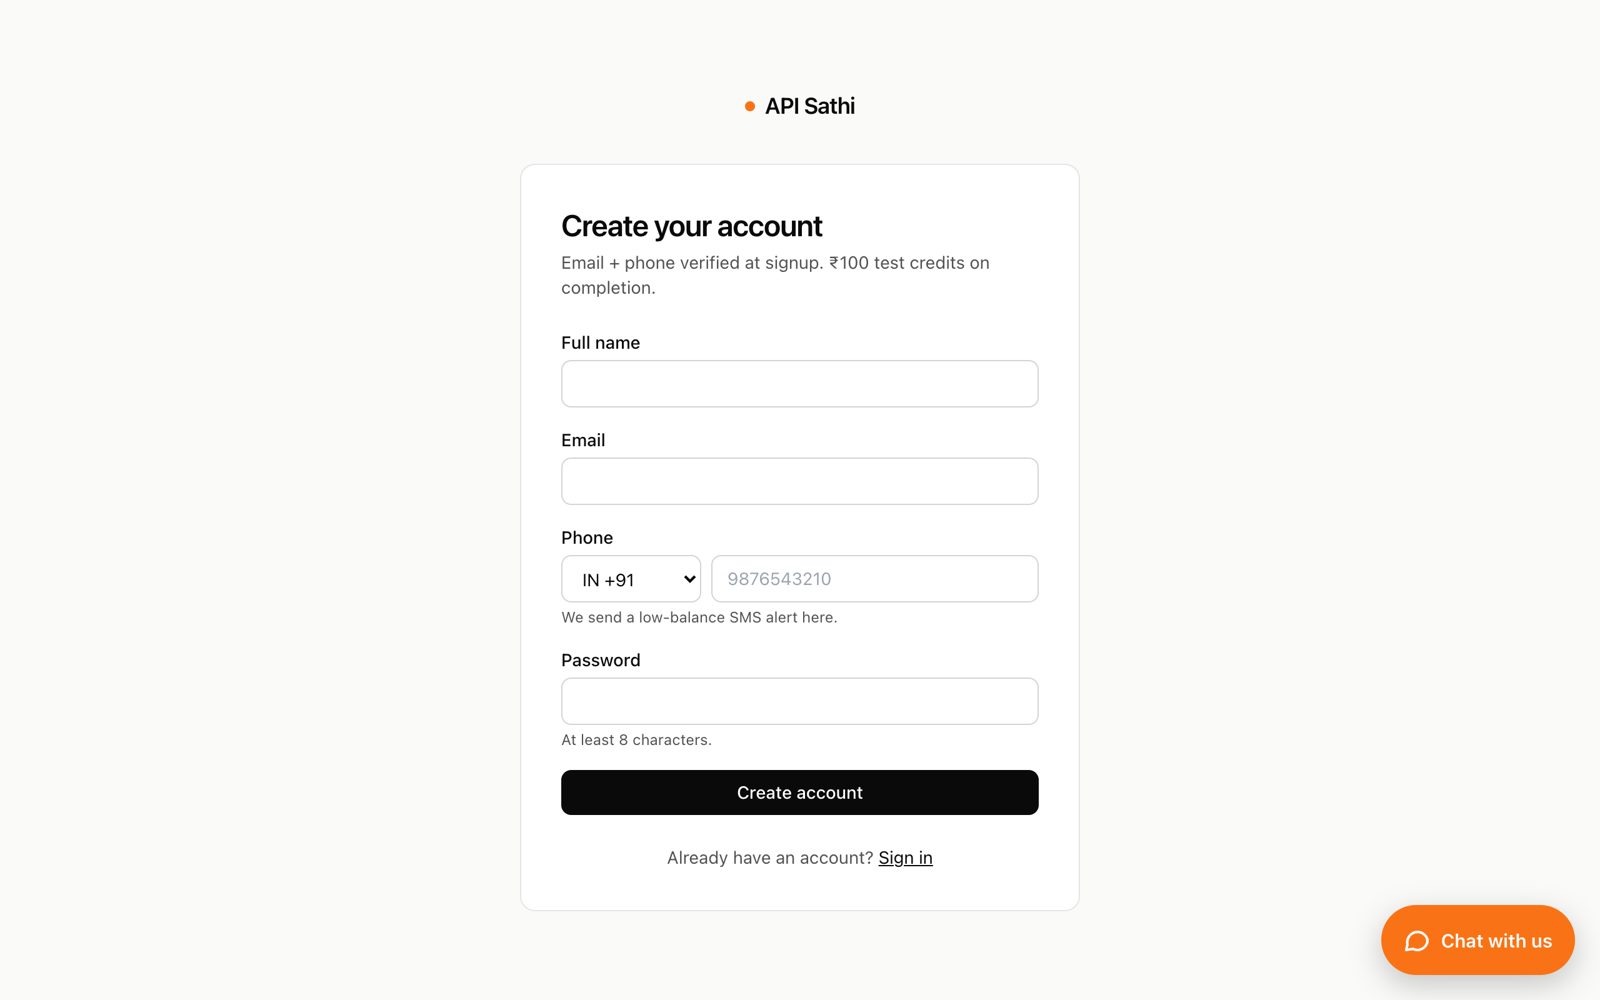
Go to apisathi.in/signup and enter your name, work email, mobile number (with country code) and a password. You land on your dashboard straight away — no paperwork is needed to start. New accounts get free sandbox credits for TEST mode.
Tip: add your company's legal name, GSTIN and billing address under Onboarding so your GST invoices carry them and you can claim input credit. It cannot be added to an invoice afterwards.
2Add money to your wallet
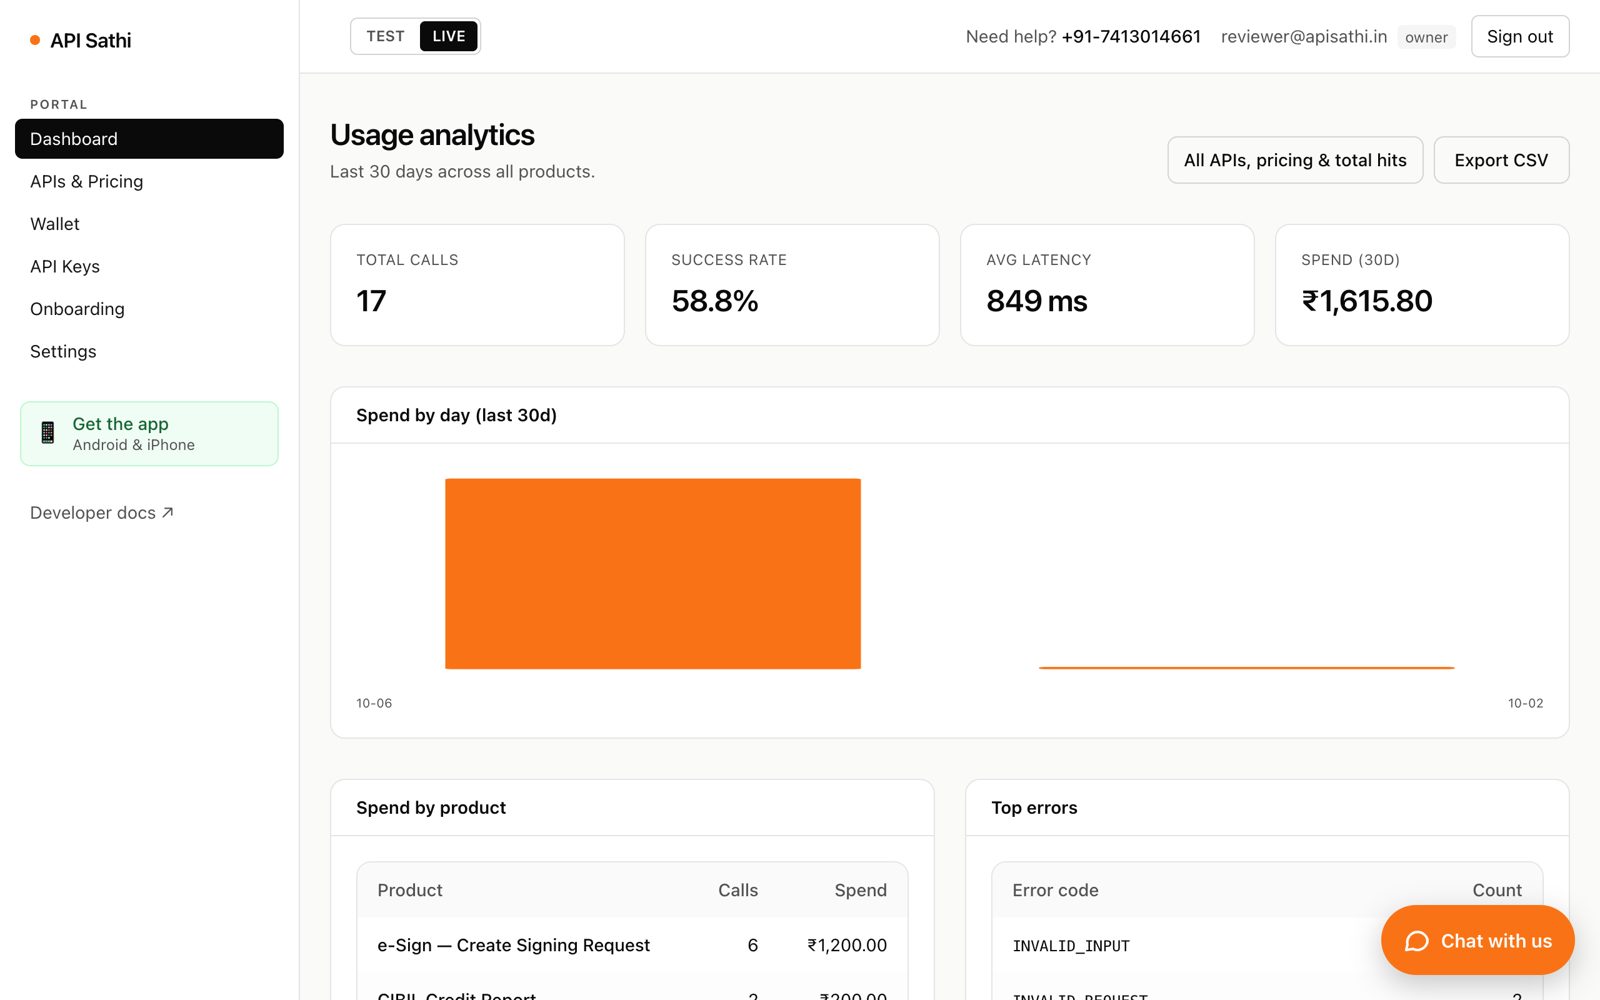
API Sathi is prepaid: you recharge a wallet and each successful call is deducted from it. Failed calls are never charged. Open Wallet, pick an amount (minimum ₹200) or enter a custom amount, and pay by UPI, card or net banking. 18% GST is added at checkout and you get a GST invoice for every recharge. Your balance updates within seconds.
Larger recharges earn bonus credit — up to 26.6% extra on ₹20,000. Set a low-balance alert or turn on auto-recharge on the same page so your calls never stop.
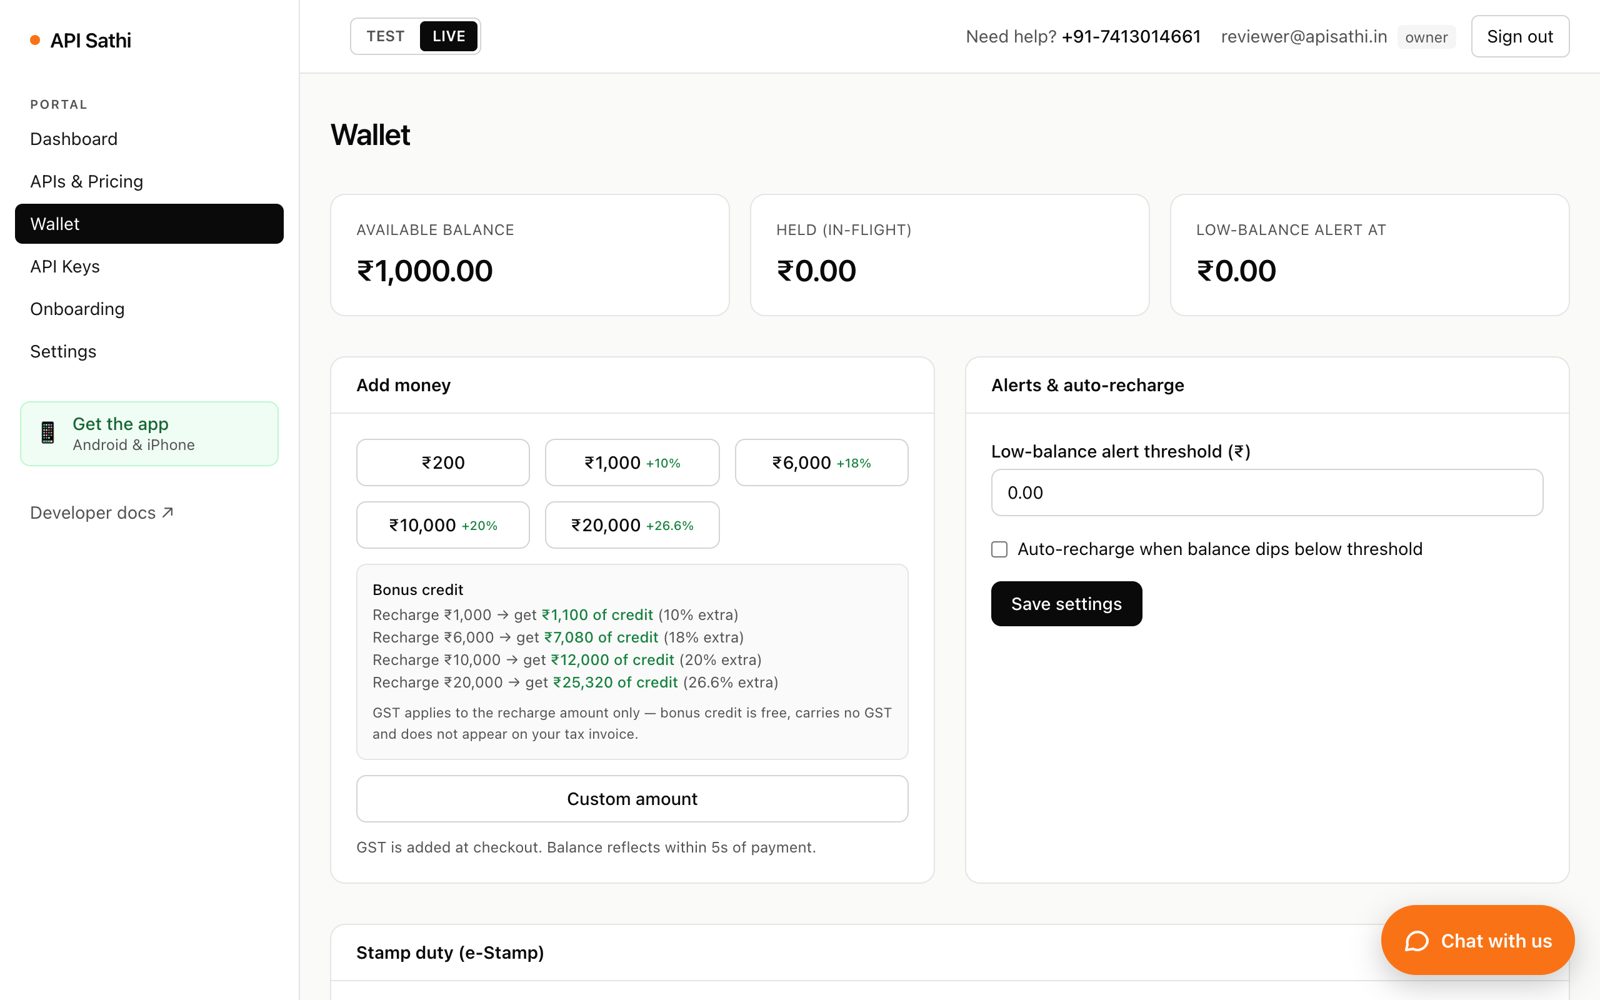
You can skip this step while testing: TEST mode uses free sandbox credits, not your wallet.
3Create an API key
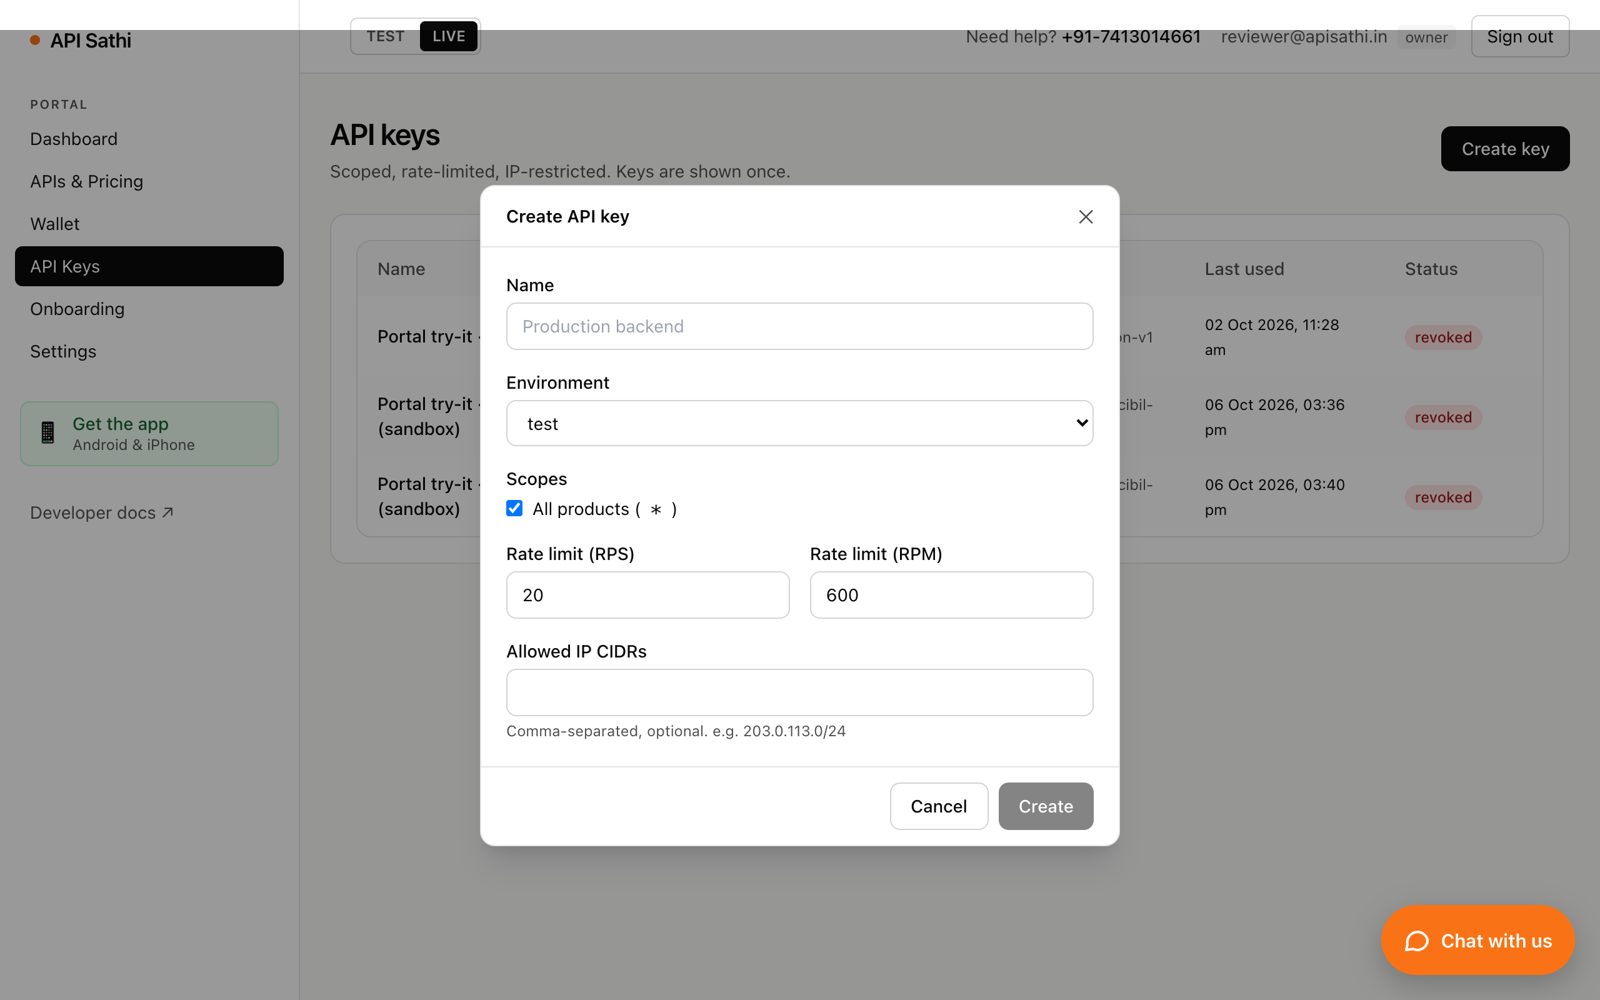
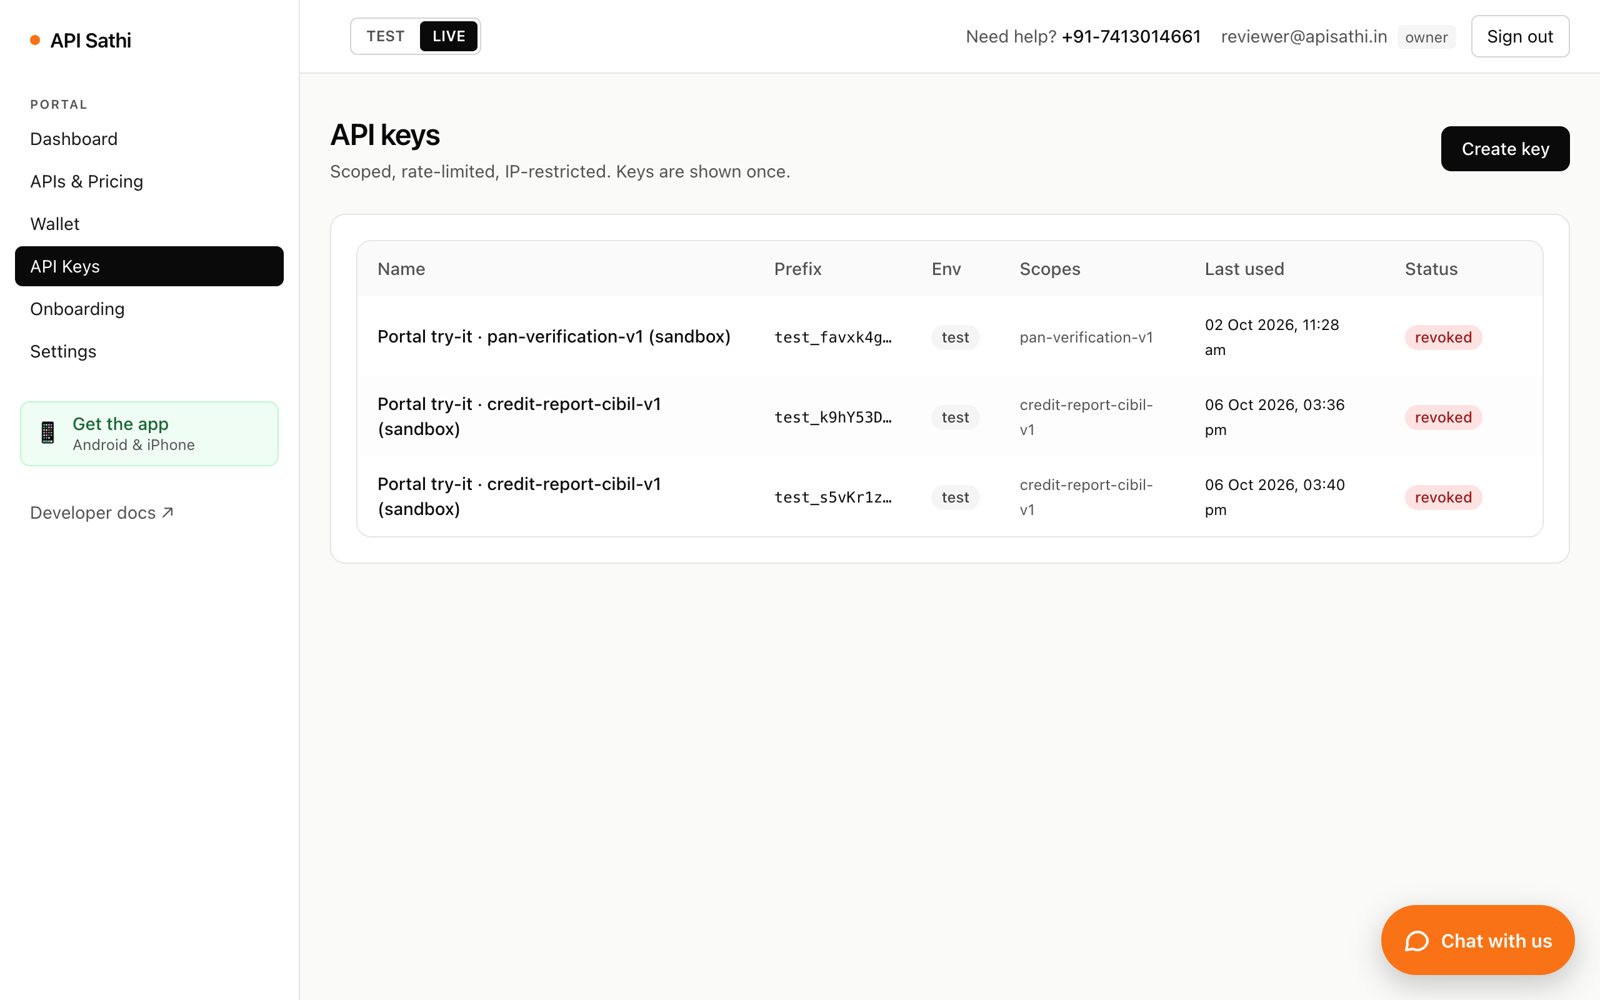
Open API Keys → Create key.
- Name — where it will be used, e.g. “Production backend”.
- Environment —
testkeys (start withtest_) return sample data and cost nothing;livekeys (live_) query real sources and charge your wallet. - Scopes — leave “All products” or limit the key to the APIs it needs.
- Rate limits and allowed IPs — optional. Restricting a live key to your server's IP address is strongly recommended.
Copy the key when it is shown — it is displayed only once. Store it in your server's environment or secrets manager. Never put a live key in a mobile app, website JavaScript or a public repository. If a key leaks, revoke it on this page and create a new one.
4Try an API in the portal
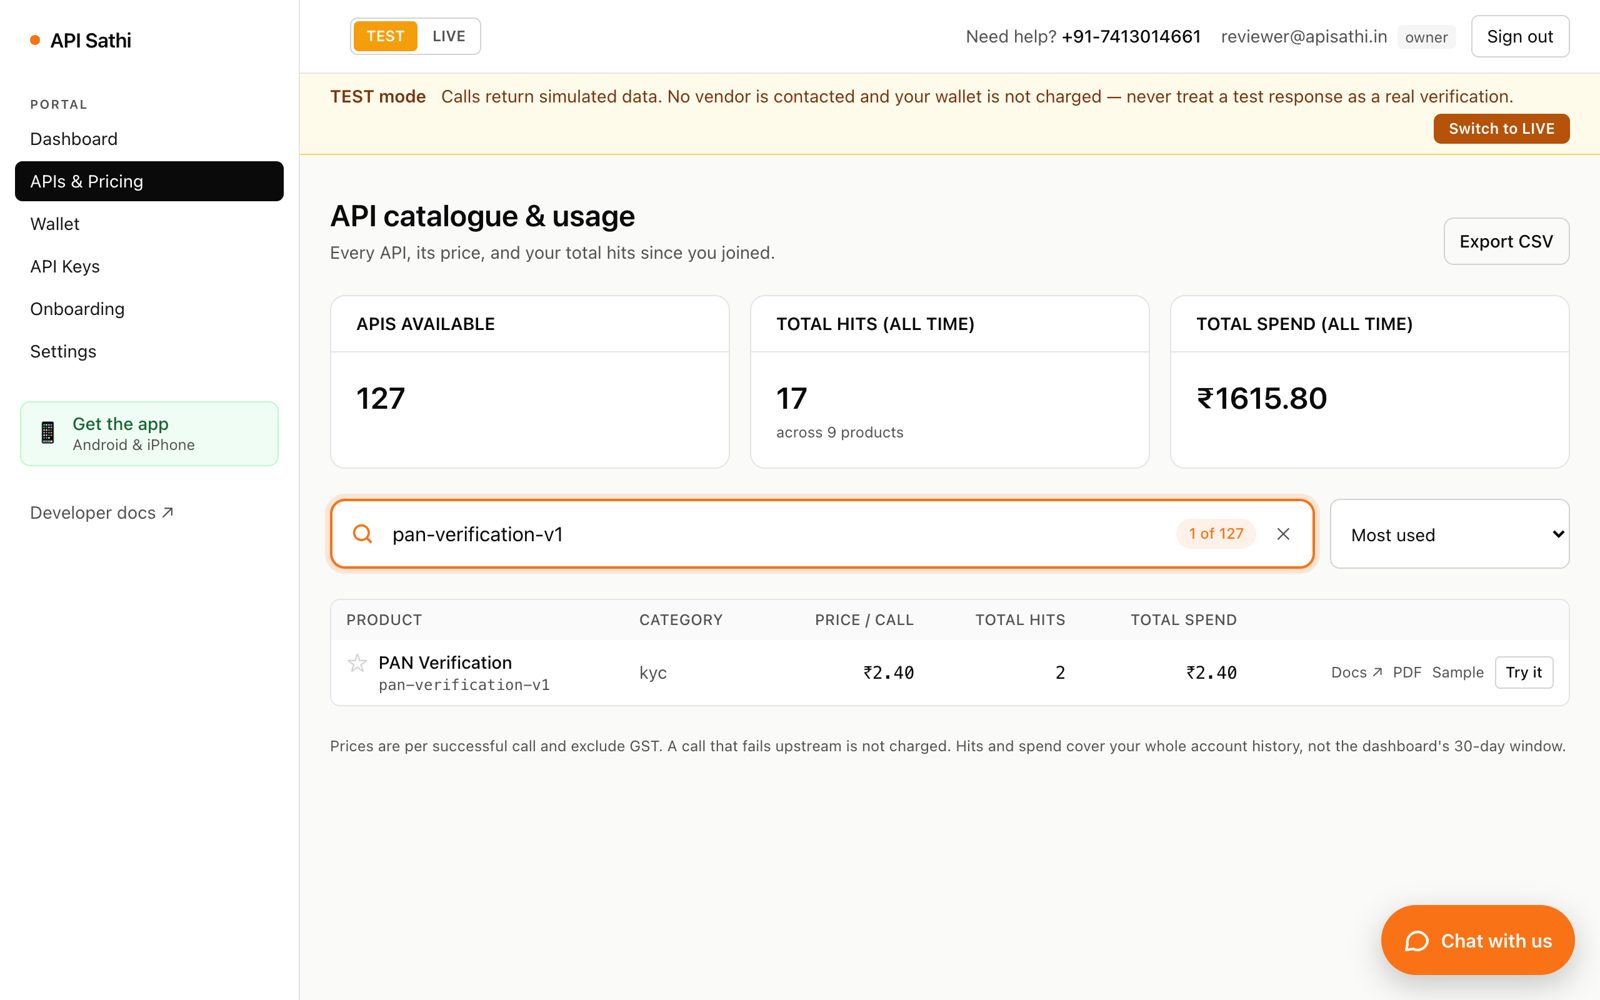
Before writing code, try any API from APIs & Pricing. Switch the toggle at the top to TEST for free sample answers, search for the API (e.g. “PAN”) and click Try it.
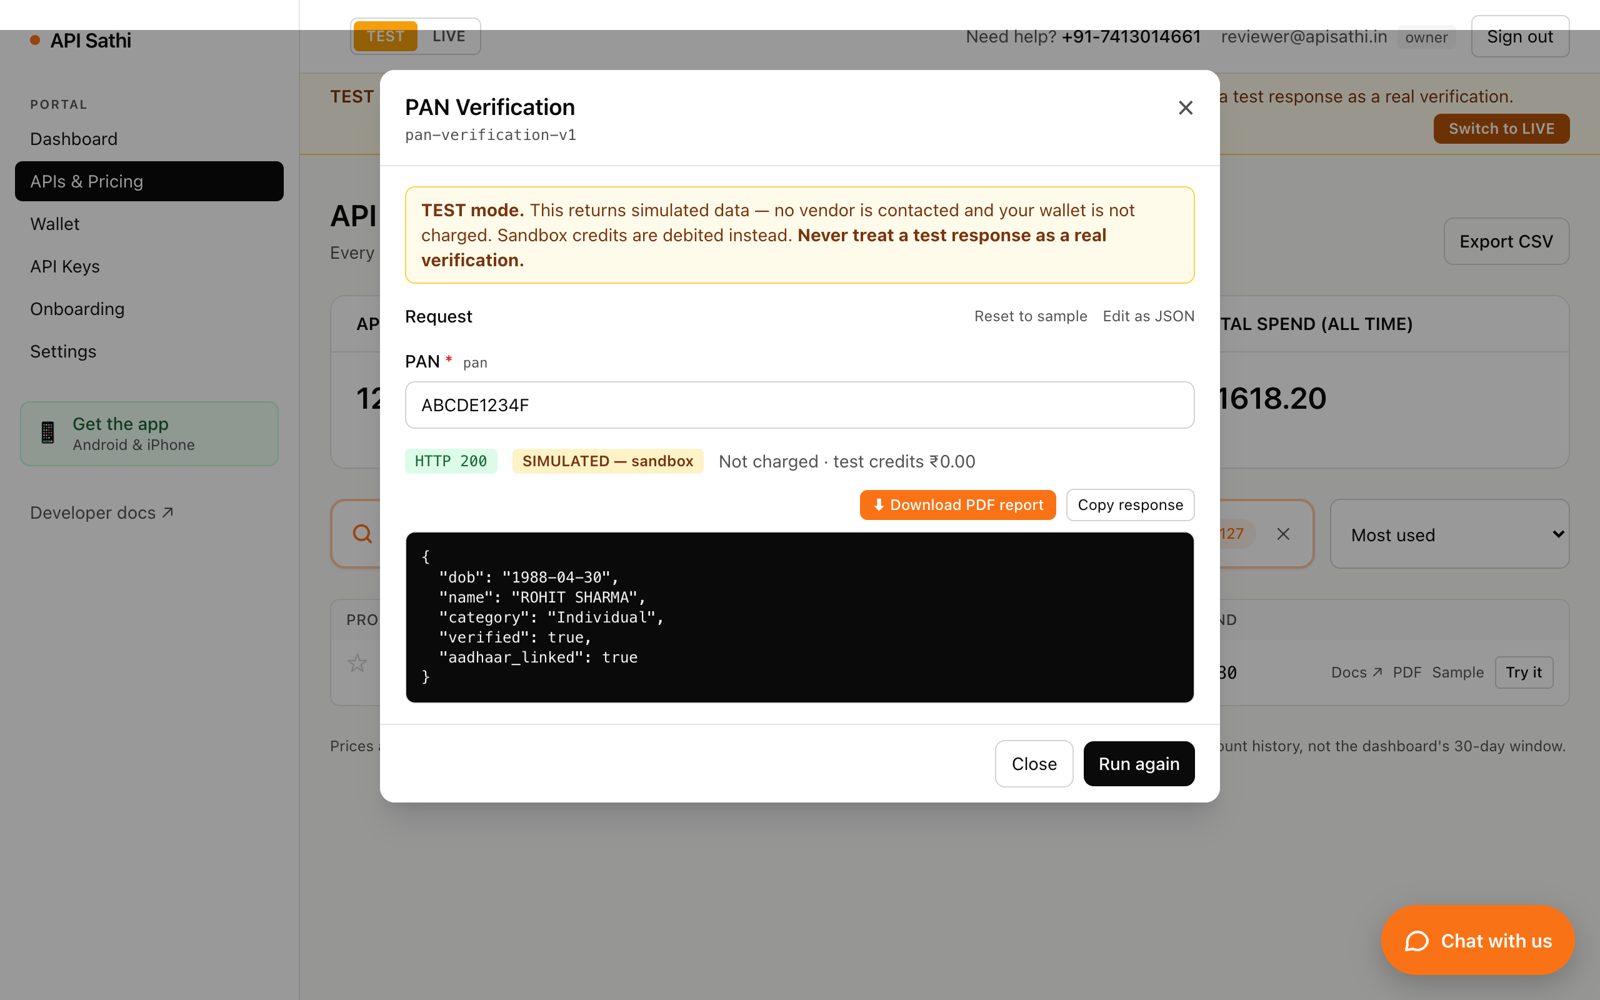
Fill in the inputs and run it. You see the exact JSON your code will receive, what you were charged, and a Download PDF report button that produces a readable, branded report of the result.
5Call the API from your code
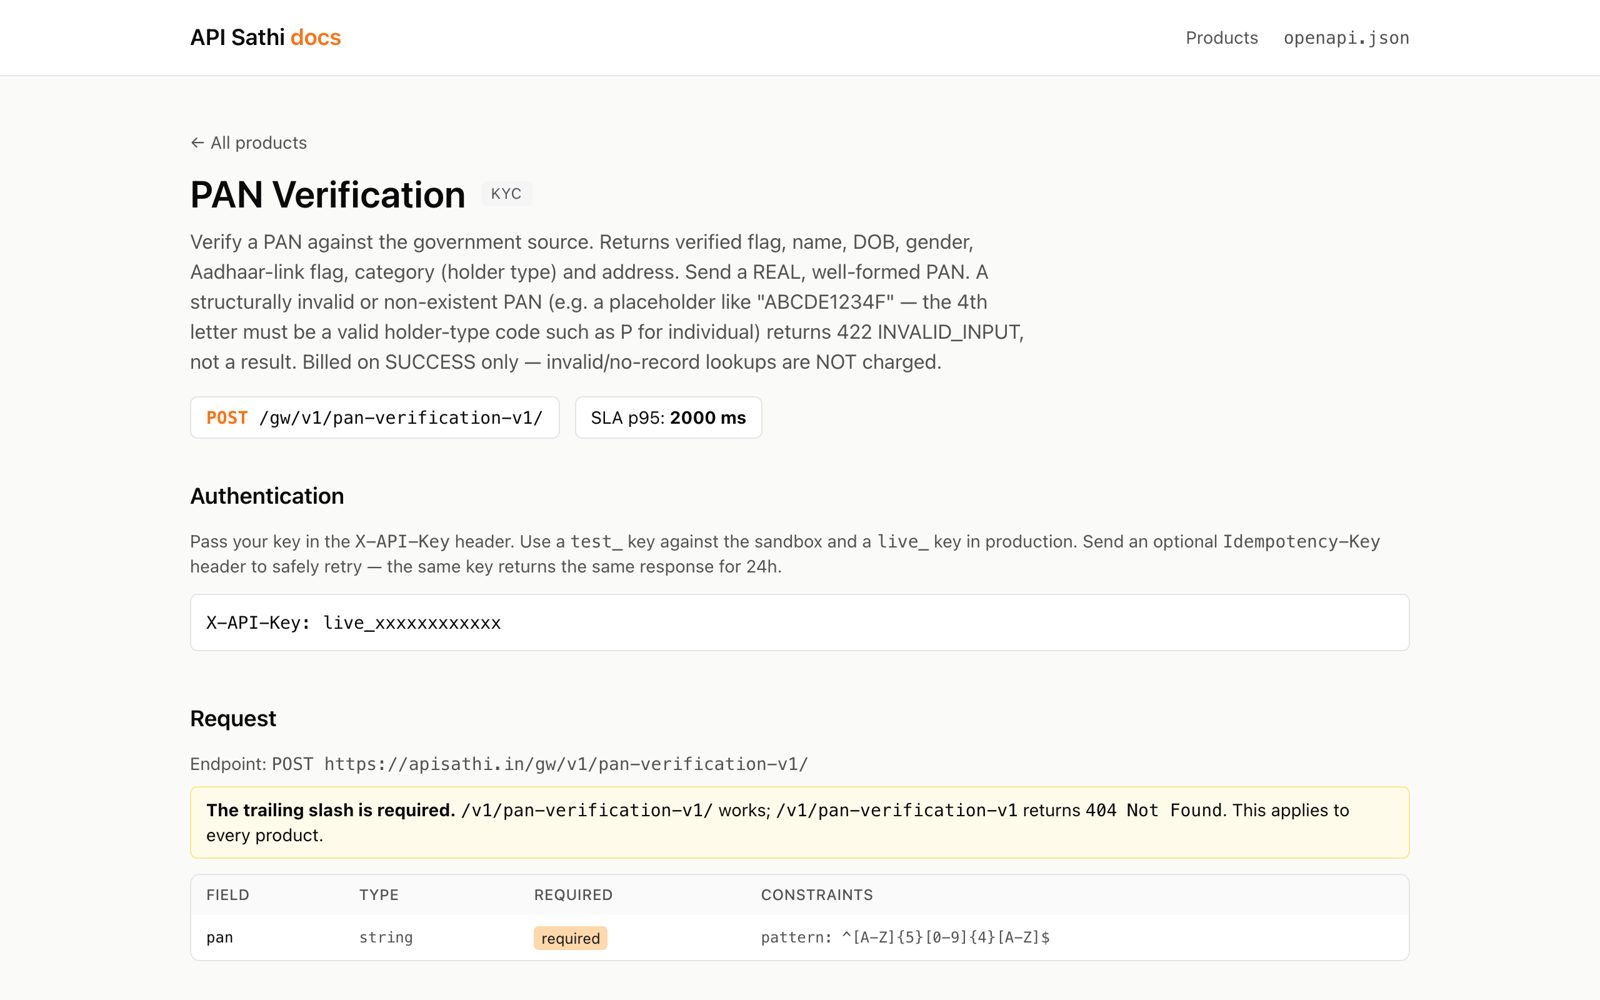
Every API is one POST request to the same base URL, with your key in the X-API-Key header and a JSON body:
POST https://apisathi.in/gw/v1/<api-name>/
X-API-Key: test_xxxxxxxxxxxx      (or live_…)
Content-Type: application/json
The <api-name> and its inputs are on each API's page in these docs (e.g. PAN Verification). Example — verify a PAN:
cURL
curl https://apisathi.in/gw/v1/pan-verification-v1/ \
  -H "X-API-Key: $APISATHI_KEY" \
  -H "Content-Type: application/json" \
  -d '{"pan":"ABCDE1234F"}'
Node.js
const res = await fetch('https://apisathi.in/gw/v1/pan-verification-v1/', {
  method: 'POST',
  headers: {
    'X-API-Key': process.env.APISATHI_KEY,
    'Content-Type': 'application/json',
  },
  body: JSON.stringify({ pan: 'ABCDE1234F' }),
});
const data = await res.json();
console.log(res.status, data);
Python
import os, requests

r = requests.post(
    "https://apisathi.in/gw/v1/pan-verification-v1/",
    headers={"X-API-Key": os.environ["APISATHI_KEY"]},
    json={"pan": "ABCDE1234F"},
    timeout=30,
)
print(r.status_code, r.json())
PHP
$ch = curl_init("https://apisathi.in/gw/v1/pan-verification-v1/");
curl_setopt_array($ch, [
  CURLOPT_POST => true,
  CURLOPT_RETURNTRANSFER => true,
  CURLOPT_HTTPHEADER => [
    "X-API-Key: " . getenv("APISATHI_KEY"),
    "Content-Type: application/json",
  ],
  CURLOPT_POSTFIELDS => json_encode(["pan" => "ABCDE1234F"]),
]);
$body = curl_exec($ch);
echo curl_getinfo($ch, CURLINFO_HTTP_CODE), " ", $body;
Sample response
{
  "verified": true,
  "name": "ROHIT SHARMA",
  "category": "Individual",
  "aadhaar_linked": true
}
Response codes to handle
| HTTP | Meaning |
|---|---|
| 200 | Success — the result is in the body. Charged. |
| 400 | Invalid input — check the fields against the API page. Not charged. |
| 401 / 403 | Missing, invalid or revoked API key, or the key is not scoped for this API. |
| 402 | Insufficient wallet balance — recharge and retry. |
| 404 | No record found at the source for that input (e.g. wrong number). Not charged. |
| 429 | Rate limit or duplicate-request limit — slow down and retry. |
| 502 / 503 | The upstream source is busy or down — retry after a few minutes. Not charged. |
Every response carries an X-Call-Id header. Log it — it is how you (and our support team) find a call later, and how you download its PDF report.
6Go live, monitor and download reports
- When your integration works with a
test_key, create alive_key, recharge the wallet and swap the key in your server configuration. Nothing else changes. - The Dashboard shows calls, success rate, spend by API and a live tail of your last 100 calls — each with a PDF report button.
- Recharge invoices are under Wallet. Low-balance alerts arrive by email and SMS.
- Install the API Sathi app (Android & iPhone) for balance, usage, keys and alerts on your phone.
- Consent: for Aadhaar (DigiLocker) and credit reports, you must capture the individual's consent (OTP) before the call. Each API page describes what to send.
Need help?
Phone / WhatsApp +91 74130 14661 · Chat with us from any page of apisathi.in. Browse every API and price at apisathi.in/apis.